Create a new Blueprint
The ZK Email Registry allows you to create email proofs by defining a blueprint. This guide will walk you through the steps to create a new blueprint, ensuring you can set up a new email verification pattern.
Before starting, you'll need an .EML file. If you don't have one, learn how to obtain it here.
Getting Started
- Log in to the ZK Email Registry using your GitHub account (your handle will be used to identify your blueprints).
- Navigate to the blueprint creation page.
- Click the "Create Blueprint" button on the top right to begin.
Blueprint Details
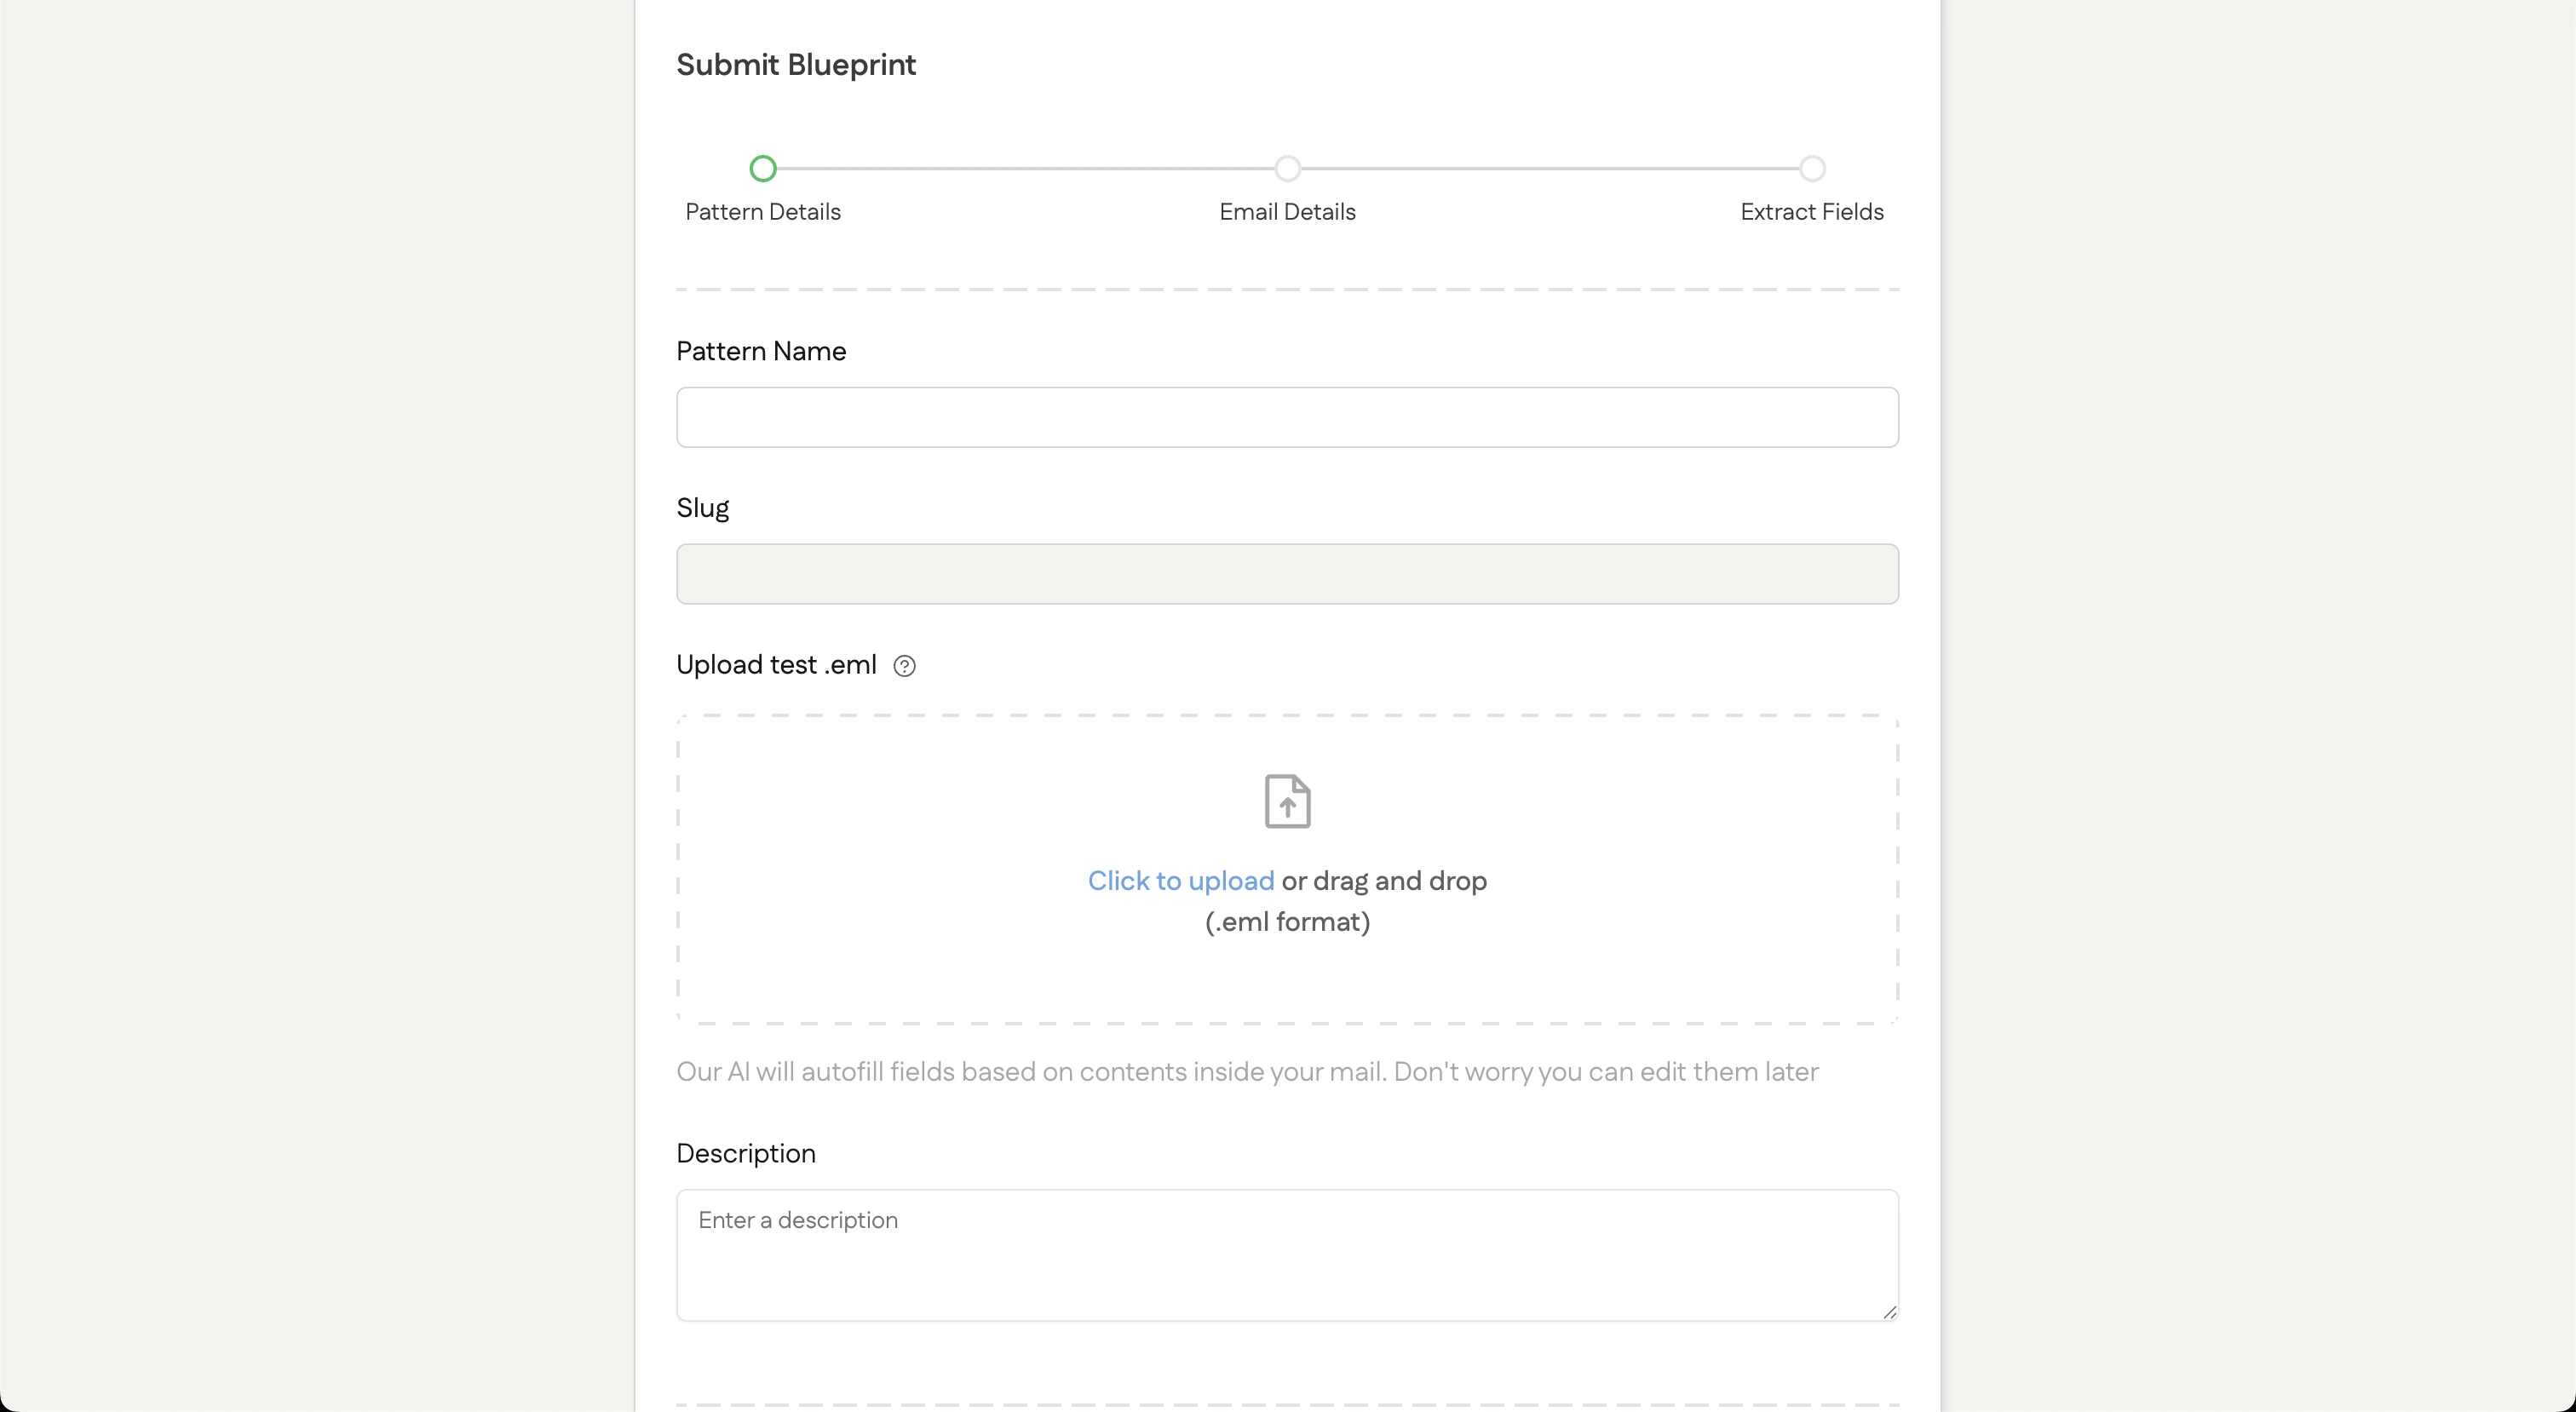
Pattern Name
Choose a descriptive and clear name that users will see in the registry.
Example: "Google Confirmation Proof"
Slug
Your URL identifier is automatically generated as:
{github-username}/{circuitName}
Test Email Upload
Upload a .EML file here. This file serves multiple purposes:
- Powering the AI auto extraction feature
- Testing your extraction regex
If you need to download an .EML file, you can learn how to do so here.
Description
Provide a concise yet informative explanation of what your blueprint proves.
Example: "Prove that you received a devcon confirmation email."
Email Details
Now we will configure the query to find the email for creating the proof and setting the sender domain to be used for DKIM verification.
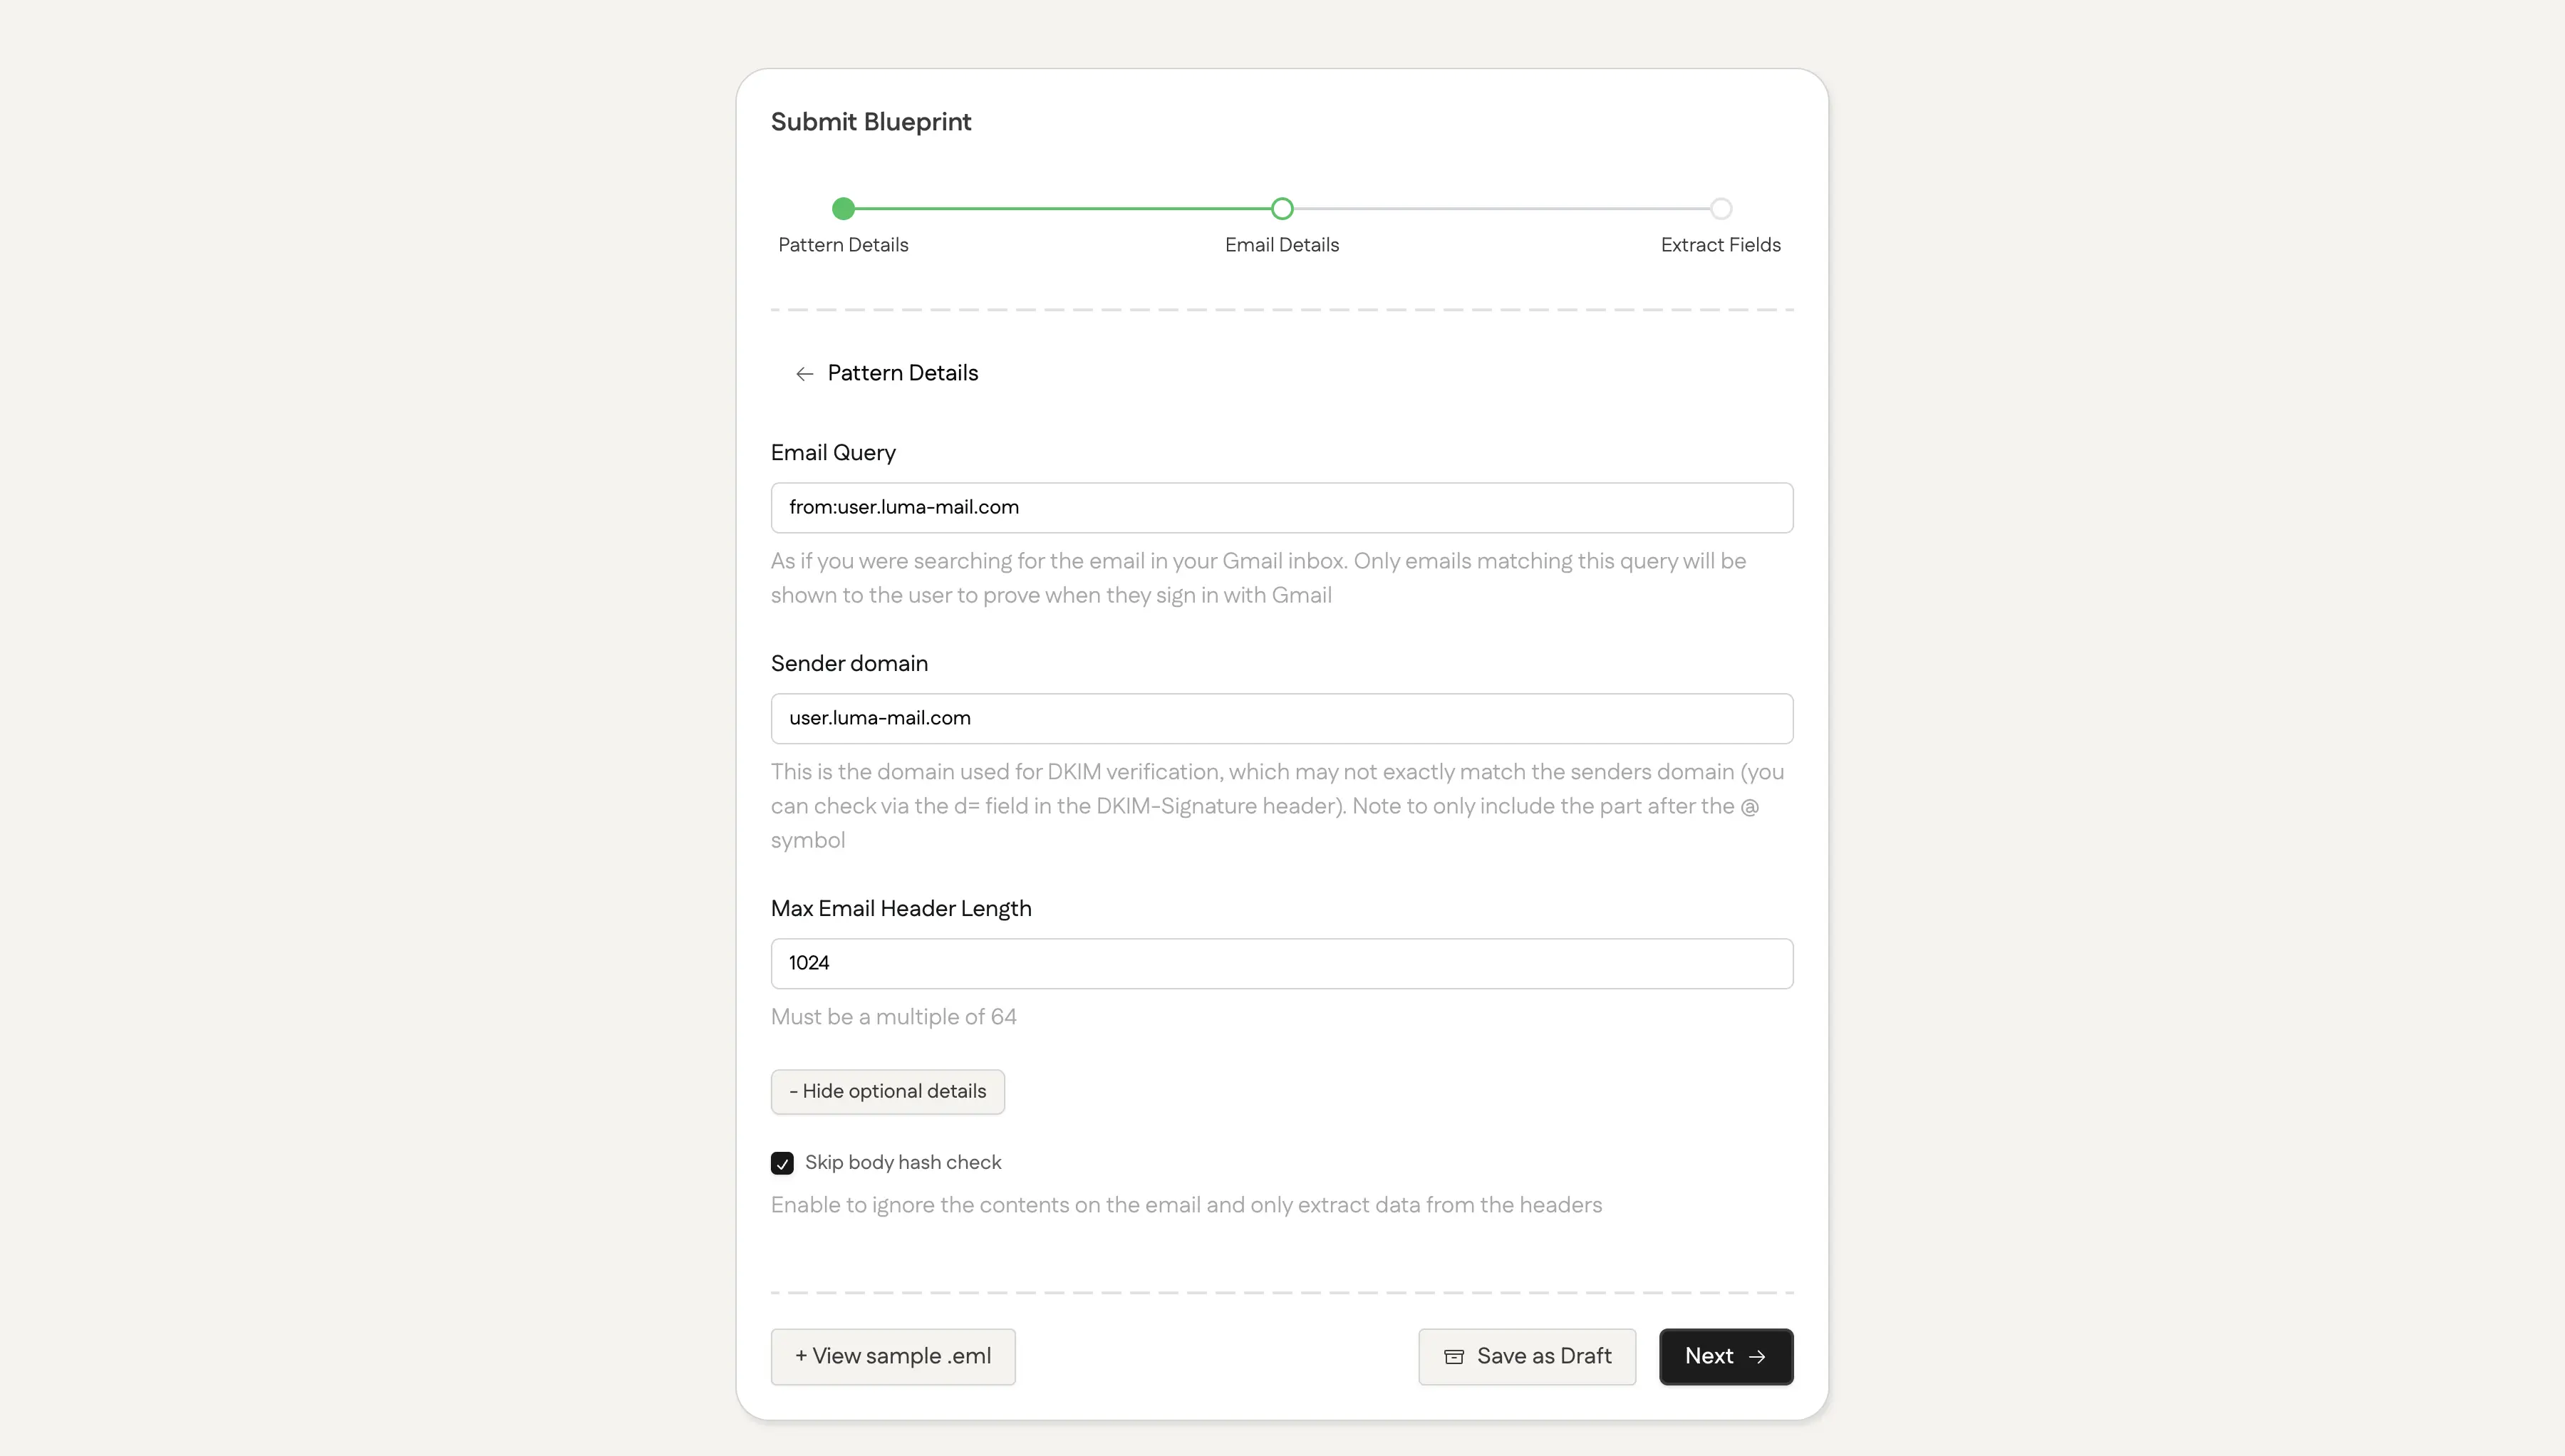
Email Query
Specify a Gmail search query to locate relevant emails. You can use any valid Gmail query. More information here.
Example: "from:google.com"
This query is used to search the logged-in user's Gmail inbox to easily find and select the relevant email for generating proofs.
Sender Domain
Specify the domain used for DKIM verification, which is crucial for email authenticity.
- Location: Find this in the
d=field of the DKIM-Signature header. - Format: Enter the domain name without the "@" symbol.
Example: "google.com"
Sometimes there are multiple DKIM signatures in the email. In this case you should use the one that is more likely to be the one from the sender (more similar or the same as the one specified in the from field).
Example of an email with multiple DKIM signatures:
From: Uber Receipts <noreply@uber.com>

DKIM-Signature: ... d=mgt.uber.com; ...
DKIM-Signature: ... d=mailgun.org ...
In this case you should set the sender domain to mgt.uber.com as it is more likely to be the one from the sender.
Max Email Header Length
Define the maximum size for email headers:
- Must be a multiple of 64 bytes
- Ensure it's large enough to encompass your entire email header
Example: 1024
Setting this value too low may result in a blueprint compilation error, while setting it too high unnecessarily increases the circuit size.
Skip body hash check
Enable this option to ignore the email body during proof generation:
- Useful when extracting data solely from headers
- Reduces the number of constraints in the circuit
- Can significantly improve proof generation speed
Only enable this if you're certain all required data is in the headers, as it will prevent any body content verification.
This option should be marked if you're using an email from Protonmail as they don't provide access to the original email body.
Email Body Cutoff Value
This is optional but we encourage you to set it in order to reduce the circuit size and its compilation time.
Field Extraction
This section defines the data you want to extract from the email.

AI Auto-extraction
Leverage AI to simplify the field extraction process:
- Provide a clear description of the fields you want to extract
- Click the "Generate Fields" button
- Review and refine the AI-generated extraction fields as needed
Fields to Extract
For each data point you wish to extract:
-
Field Name: Assign a clear, descriptive identifier
Example: "receiverName" -
Data Location: Specify the email section to search:
- Body: Main email content
- Headers: Email metadata (subject, sender, etc.)
-
Max Length: Set the maximum character count for this field
Example: 64 -
Decomposed Regex Parts: Define your extraction pattern:
[
  {
    "isPublic": true,
    "regexDef": "[a-zA-Z0-9_]+"  // Matches username
  }
]
Learn more about decomposed regex here.
External Inputs
For any additional data:
- Field Name: Choose a descriptive identifier (e.g., "eventCode")
- Maximum Length: Set an appropriate character limit (e.g., 20)
Example Blueprints
📄️ Proof of Luma
Proof that you were confirmed for a Luma event